How to Clean Car Headlights: Fixing Yellow, Foggy Lenses That Stay Clear
Foggy headlights aren't dirty on the inside; the plastic surface has broken down in sunlight. Here is how restoration kits work, why the sealant step matters, and when new lenses make more sense.
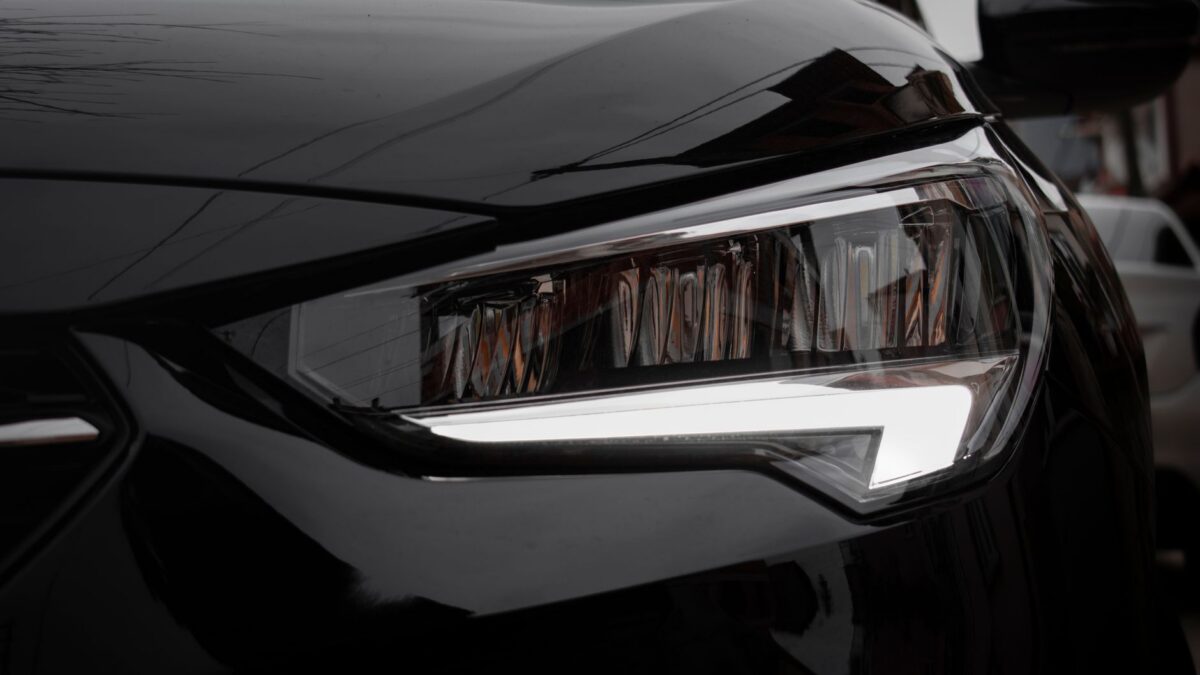
Yellow, cloudy headlights are usually UV-damaged polycarbonate: the factory protective hard coat has worn away and the plastic surface has oxidized. Washing won’t fix that. A headlight restoration kit removes the damaged layer by wet-sanding with progressively finer grits, polishes the lens clear, and then, most importantly, applies a UV-blocking sealant so the yellowing doesn’t come back quickly. Lenses that are cracked, crazed inside or fogged with moisture inside need replacement, not polishing.
Why headlights turn yellow
Most modern headlight lenses are polycarbonate plastic, which is tough and light but breaks down in ultraviolet light. Makers apply a clear hard coat at the factory to protect it. Sun, heat, road grit and harsh cleaners wear that coat down over time; once it’s gone, the exposed plastic oxidizes and develops fine surface cracks that look hazy and yellow. Cars parked outside in strong sun tend to show it sooner.
Dim, yellowed lenses reduce how much light reaches the road, so restoring them is a visibility and safety fix, not just cosmetic.
Restoration options compared
| Method | What it does | How long it lasts | Best for |
|---|---|---|---|
| Washing | Removes road film and bugs | Until the next drive | Clear lenses that are just dirty |
| Toothpaste or baking soda rub | Mild abrasive polish of the very top layer | Short; no UV protection | A temporary improvement in a pinch |
| Polish-only kit | Abrasive compound removes light haze | Depends on the sealant included | Light, early yellowing |
| Sanding + polish + UV sealant kit | Removes damaged layer, restores clarity, adds UV protection | Varies by product; see the kit’s own claims | Moderate to heavy yellowing |
| Professional restoration | Same process, often with sprayed or cured coatings | Varies by shop and coating | If you’d rather not sand |
| New headlight assembly | Fresh lens and coating | Like new | Cracks, internal fog or damage, failed seals |
The toothpaste myth
Toothpaste is a mild abrasive, so rubbing it on a lens can make light haze look better for a while. But it doesn’t remove deeper oxidation evenly, and it leaves raw plastic with no UV protection, so the haze tends to return faster. If you want a lasting result, a kit with a sealant is the better spend.
What you need
- A headlight restoration kit that includes sanding discs or pads, polish and a UV sealant or clear coat
- Painter’s tape and plastic sheeting or masking paper
- Spray bottle of water
- Microfiber cloths
- Gloves and eye protection (read the kit’s label; some sealants need a respirator or good ventilation)
- A drill, if the kit uses drill-mounted pads
Step-by-step: restoring a yellowed headlight
- Read the kit instructions. Steps, grits, cure times and weather limits differ by product.
- Wash and dry the lens and the area around it. See how to wash a car at home.
- Mask the paint and trim. Use two or three layers of painter’s tape around the lens; sandpaper slips, and it will mark paint instantly.
- Wet-sand with the coarsest grit in the kit, keeping the lens and pad wet. Work evenly across the whole lens in one direction until the surface is uniformly frosted and the yellow is gone.
- Step up through the finer grits, changing direction with each grit so you can see when the previous scratches are gone. Rinse between grits.
- Polish with the kit’s compound until the lens is clear.
- Clean the lens as the kit directs so the sealant bonds; many kits include a prep wipe.
- Apply the UV sealant or clear coat exactly as directed, in one even coat. Keep it out of direct rain and dust for the cure time on the label. Don’t touch it while it cures.
- Remove the tape and check your headlight aim is still correct; restoring clarity can make a misaimed beam more noticeable to other drivers.
Skipping step 8 is the most common reason a restored lens turns yellow again within months. Sanding removes whatever was left of the factory coating, so the new sealant is the only UV protection the lens has.
When replacement is the better choice
- Cracks, chips or holes in the lens
- Haze or moisture inside the headlight, which polishing the outside can’t reach
- Crazing (a web of fine cracks) that doesn’t sand out
- Broken mounting tabs, or a headlight that won’t hold aim
- Repeated restorations that keep failing
Before buying, check for open recalls on your vehicle at NHTSA’s recall lookup; headlight issues are occasionally covered.
Brightness and the law
In the US, vehicle lighting equipment is regulated under federal motor vehicle safety standard FMVSS 108, and states have their own rules on working, properly aimed headlights; some states check lenses during safety inspections. Restoration brings a lens back toward its original light output; it doesn’t make a headlight brighter than designed. Fitting brighter aftermarket bulbs that weren’t designed for your headlight housing can create glare for other drivers and may not be compliant, so check with the vehicle maker or a qualified shop before changing bulbs.
Keeping them clear
- Wash lenses with car shampoo, not abrasive or solvent cleaners.
- Park in shade or a garage when you can.
- Reapply UV protection as the sealant maker recommends. Some waxes and sealants are labeled for plastic lenses; check before using one (our guide to how to wax a car explains the product types).
Safety notes
Work in a ventilated area, wear gloves and eye protection, follow every label and keep products away from children and pets.
If someone swallows, inhales or gets a cleaning product in the eyes, call Poison Control at 1-800-222-1222 (US) or emergency services.
Bottom line
Yellow headlights are a surface problem you can fix in an afternoon with a sanding-and-sealant kit. The UV coat at the end is what makes it last. If the damage is inside the lamp, or the lens is cracked, replace the assembly instead.
FAQ
Does WD-40 or bug spray clean headlights?
Neither is a restoration method. Solvents may make a lens look clearer briefly but can damage plastic and coatings. Use a product made for headlight lenses.
How long does headlight restoration last?
It depends heavily on the sealant and how much sun the car gets. Kit makers state their own durability claims; without a UV coat, yellowing usually returns much faster.
Can I restore headlights with a buffer?
Yes, if the kit supports it, but keep speed and heat moderate. Too much heat can distort or haze polycarbonate.
Why is my headlight foggy on the inside?
Moisture is getting in through a failed seal, vent or crack. Outside polishing won’t help; the assembly may need resealing or replacement.