How to Recaulk a Bathtub: Remove Old Caulk, Kill Mold and Seal It Right
Cracked, moldy caulk lets water into walls. Here is how to strip it, clean the joint, choose silicone or acrylic, lay a neat bead and let it cure.
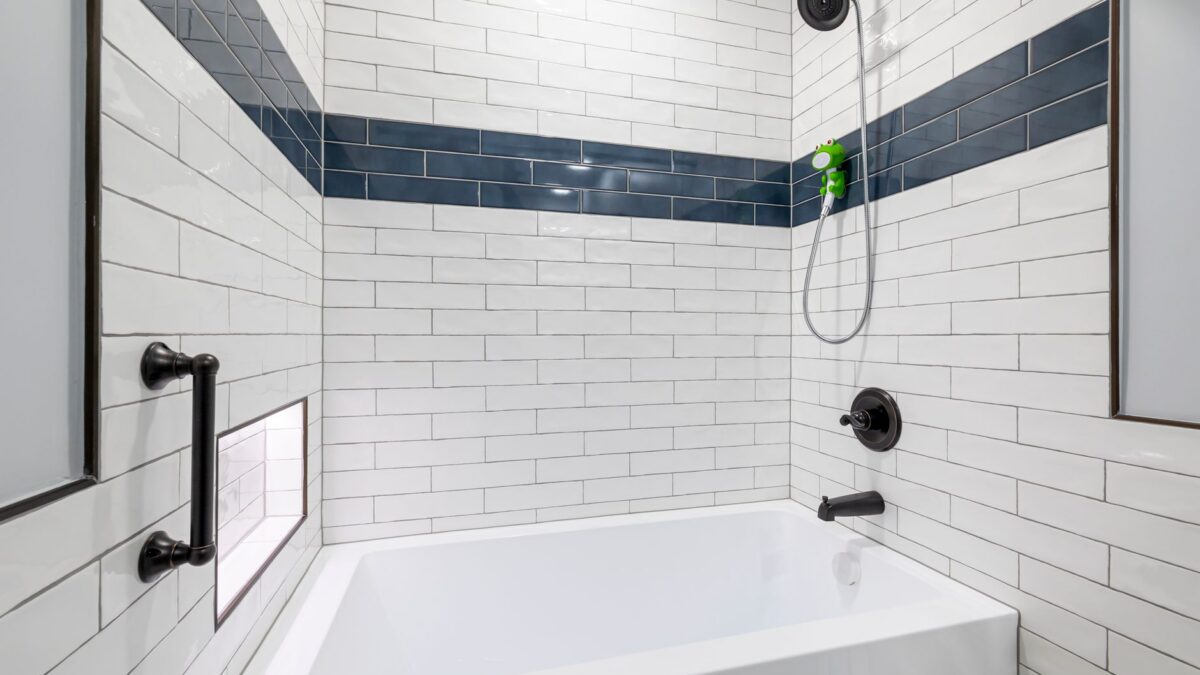
To recaulk a bathtub, remove every bit of old caulk, clean the joint and kill any mold, let it dry completely (overnight or longer), tape clean lines on both sides, then apply a thin bead of 100% silicone or a kitchen-and-bath sealant and smooth it. Pull the tape right away and keep water off until the cure time on the label has passed. The key mistake to avoid: caulking over old caulk or a damp, moldy joint, which fails quickly.
When to recaulk
- Caulk is cracked, shrinking or pulling away from the tub or tile.
- Black or pink spots return immediately after cleaning, meaning mold is under the caulk.
- Water seeps behind the tub, or you see soft drywall or stains on the ceiling below.
Surface mildew on caulk can often be cleaned; see how to get rid of mold in the shower and pink mold in the shower first. If it will not come clean, replace the caulk.
Silicone vs acrylic caulk
| Type | Pros | Cons | Best for |
|---|---|---|---|
| 100% silicone | Very flexible, waterproof, long-lasting; many are mold-resistant | Not paintable; messier to tool; residue is hard to remove later | Tub-to-tile and shower joints |
| Siliconized acrylic (latex) | Water cleanup, easier to smooth, paintable | Less durable in constant water; may shrink | Trim, low-splash areas |
| Hybrid or polymer kitchen-and-bath sealants | Combine flexibility with easier tooling; some paintable | Varies by product; check the label | Per label |
Choose a product labeled for kitchens and baths and for your surfaces (acrylic, fiberglass, porcelain, tile, stone). New silicone does not bond well to old silicone residue, so removal matters.
What you need
- Kitchen-and-bath caulk and a caulk gun (or a squeeze tube)
- A plastic caulk removal tool; a razor scraper only on tile or porcelain, never on acrylic or fiberglass
- Caulk remover or softener, if the label says it is safe for your tub
- Rubbing alcohol (isopropyl) for wiping residue
- A mildew remover or bleach-based cleaner used per its label
- Painter’s tape
- Paper towels, a utility knife and rubber gloves
- A caulk smoothing tool or a gloved fingertip
How to recaulk a bathtub, step by step
- Remove the old caulk. Slice along both edges with a utility knife, then pull and scrape it out with the removal tool. On acrylic and fiberglass tubs use plastic tools only to avoid scratches. A caulk softener can help with stubborn bits; follow its label and test it on a hidden area.
- Clean off residue. Wipe the joint with rubbing alcohol on a paper towel to lift remaining silicone film and soap scum. Rinse with water.
- Treat mold. Use a mildew remover or bleach-based cleaner exactly as the label directs, with the fan running and a window open. Never mix bleach with vinegar, ammonia or acidic cleaners, and rinse with plain water before switching products. Let the surface dry. If mold has spread into the wall cavity or covers a large area, the EPA’s mold guidance suggests professional help for areas larger than about 10 square feet.
- Dry it completely. Run the exhaust fan and leave the tub unused overnight or longer. Moisture trapped under fresh caulk leads to poor adhesion and new mold.
- Fill the tub with water (optional but helpful). Many installers fill the tub before caulking so it settles to its loaded position; the joint then does not stretch when someone stands in it. Leave it full until the caulk sets.
- Tape the lines. Run painter’s tape along the tile and along the tub, leaving a gap a little wider than the joint. This gives a straight, even bead.
- Cut the nozzle. Snip the tip at an angle, starting small; you can always cut more. Puncture the inner seal if there is one.
- Apply the bead. Hold the gun at a steady angle and move in one continuous motion along each joint, filling the gap without piling it high. Release trigger pressure at the end of each run to avoid blobs.
- Smooth it. Run a smoothing tool or a gloved fingertip along the bead in one pass, pressing gently so it fills the joint. Wipe excess onto a paper towel.
- Pull the tape immediately, at an angle away from the bead, before the caulk skins over.
- Let it cure. Keep water off for as long as the label says. Times differ by product: some allow water exposure within hours, many ask for 24 hours or more. Drain the tub after the caulk sets.
Tips for a neat result
- Work at room temperature with good light. Cold caulk is stiff and hard to control.
- Do corners last, joining the beads with a light touch.
- Keep a damp paper towel handy for acrylic; silicone cleans better with a dry towel, then alcohol.
- If the joint is wider than the label allows, press foam backer rod in first.
Keep caulk clean longer
- Run the exhaust fan during and for a while after showers.
- Squeegee or wipe the tub edge after bathing.
- Clean weekly with a mild bathroom cleaner. Our bathtub cleaning guide covers safe products for each tub material.
Safety
Ventilate while removing mold and while caulk cures; some products give off strong fumes. Wear gloves, keep products in their original containers and away from children and pets. If someone swallows, inhales or gets a cleaning product in the eyes, call Poison Control at 1-800-222-1222 (US) or emergency services.
Bottom line
Strip all old caulk, clean and kill mold without mixing chemicals, dry overnight, tape, apply a thin bead of kitchen-and-bath silicone and smooth it once. Pull the tape right away and wait the full cure time on the label. Water damage behind the tub or large mold areas need a professional.
FAQ
Can I caulk over old caulk?
It is not recommended. New caulk does not bond well to old caulk, especially silicone, and it traps mold underneath.
How long should caulk dry before showering?
Follow the label. Some products are water-ready in a few hours; many specify 24 hours or more for a full cure.
Why does mold come back on new caulk?
Usually the joint was not fully dry or clean before caulking, or the bathroom stays humid. Improve ventilation and dry surfaces after showers.
Should I use grout or caulk where the tub meets the tile?
Caulk. The tub and wall move slightly, and flexible caulk handles that movement where rigid grout would crack.